In the realm of word processing, specific symbols and characters are crucial for creating clear and professionally formatted documents. One such symbol is the section sign (§), often used in legal, academic, and technical documents to refer to particular sections of text. This guide provides a comprehensive overview of how to insert the sign (§) in various popular word processing programs, including Microsoft Word, Google Docs, and Apple Pages.
1. Inserting the Section Sign in Microsoft Word
Microsoft Word is a widely used word processing program with numerous features for formatting text and inserting special characters. Here’s how to insert the section sign in Microsoft Word:
Using Keyboard Shortcuts
- Place the Cursor: Click where you want to insert the sign in your document.
- Use the Keyboard Shortcut:
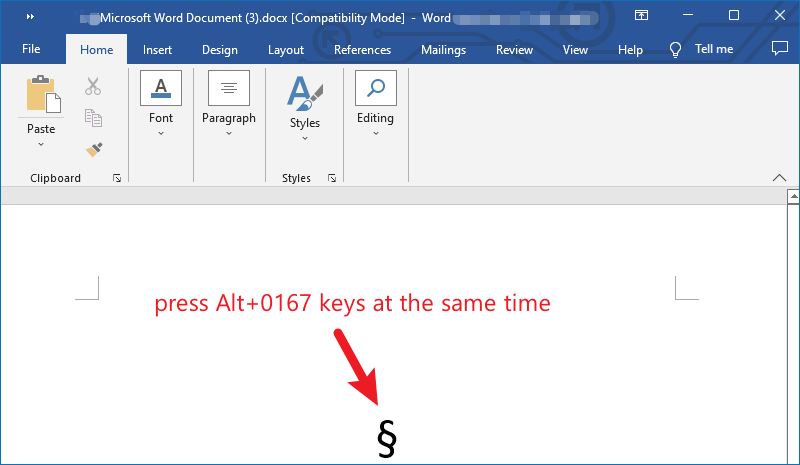
- For Windows: Press
Alt+0167on the numeric keypad. Make sure to use the numeric keypad, not the numbers at the top of the keyboard. The section sign will appear once you release theAltkey. - For Mac: Press
Option+6. This shortcut will insert the sign directly into your document.
- For Windows: Press
Using the Symbol Dialog Box
- Access the Symbol Menu: Click on the “Insert” tab in the Ribbon at the top of the screen.
- Open the Symbol Dialog Box: Click on “Symbol” in the Symbols group, and then select “More Symbols” from the drop-down menu.
- Find the Section Sign: In the Symbol dialog box, set the “Font” to “(normal text)” if it’s not already selected. Scroll through the list or choose “Latin-1 Supplement” from the “Subset” drop-down menu to find the sign (§).
- Insert the Symbol: Click on the sign (§) to select it, then click the “Insert” button. Close the dialog box after inserting the symbol.
Using AutoCorrect
- Access AutoCorrect Options: Go to the “File” tab, select “Options,” and then click on “Proofing” in the Word Options dialog box.
- Open AutoCorrect Settings: Click on the “AutoCorrect Options” button.
- Add a New AutoCorrect Entry: In the AutoCorrect dialog box, type a unique text string (e.g.,
\ss) in the “Replace” field and paste the section sign (§) into the “With” field. - Add and Save: Click “Add,” then “OK” to save the new AutoCorrect entry. Now, typing the chosen text string will automatically replace it with the section sign.
2. Inserting the Section Sign in Google Docs
Google Docs is a popular web-based word processor that offers various ways to insert special characters, including the sign (§).
Using the Special Characters Menu
- Place the Cursor: Click where you want to insert the sign in your document.
- Open Special Characters Menu: Go to the “Insert” menu at the top of the screen, and select “Special characters.”
- Find the Section Sign: In the Special Characters window, use the search box to type “section” or “section sign.” Alternatively, you can select “Symbol” and then “Latin” to find the sign (§).
- Insert the Symbol: Click on the sign (§) to insert it into your document.
Using Keyboard Shortcuts
Google Docs does not support direct keyboard shortcuts for special characters like the section sign. However, you can use operating system shortcuts:
- For Windows: Press
Alt+0167on the numeric keypad. - For Mac: Press
Option+6.
If you frequently need to insert the section sign, you might find it useful to copy and paste it from another document or a web source.
3. Inserting the Section Sign in Apple Pages
Apple Pages is a word processing application available on macOS and iOS. Here’s how to insert the sign in Pages:
Using the Character Viewer
- Place the Cursor: Click where you want to insert the sign in your document.
- Open Character Viewer: Press
Control+Command+Spaceto open the Character Viewer. - Search for the Section Sign: In the Character Viewer, type “section” in the search field or navigate to the “Punctuation” section.
- Insert the Symbol: Click on the sign (§) to insert it into your document.
Using Keyboard Shortcuts
On macOS, you can use the following keyboard shortcut:
- Press
Option+6to directly insert the section sign (§) into your document.
4. General Tips for Working with Special Characters
Copy and Paste
If you’re working across different platforms or find the insertion process cumbersome, you can always copy the section sign (§) from a reliable source (like a web page or another document) and paste it into your word processing application.
Creating Shortcuts
For documents where you frequently use the sign, consider creating a text replacement or shortcut within your word processing application to speed up your workflow.
Using Unicode
If you are comfortable with Unicode, the section sign (§) has the Unicode code point U+00A7. You can enter this directly in some applications by typing the code point and pressing Alt + X in Microsoft Word.
Conclusion
Inserting the section sign (§) in word processing applications is a straightforward process once you know the right method for your software. Whether you’re using Microsoft Word, Google Docs, or Apple Pages, this guide provides you with various techniques to include this symbol efficiently. By mastering these insertion methods, you can enhance your document formatting and ensure clarity in your references and legal citations.
Leave a Reply